








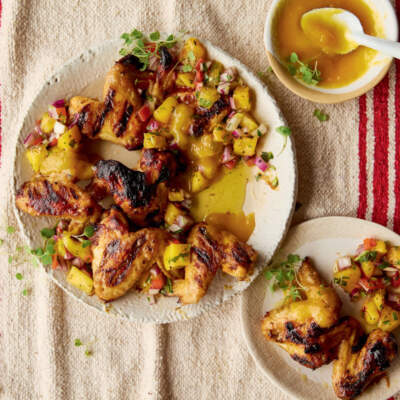
Chicken wings with mango
Ingredients
500 g free-range chicken wings
- 1 ripe mango, peeled, stoned and roughly chopped
- 2 garlic cloves, peeled
- 2 t paprika
- 2 limes, zested and juiced
- 5 T apple cider vinegar
- 4 T honey
- 4 T olive oil
- 2 T chilli flakes
- sea salt and freshly ground black pepper, to taste
For the mango salsa:
- 1 ripe mango, peeled, stoned and cubed
- 1 small red onion, finely chopped
- 1 tomato, seeded and finely chopped
- A few sprigs of coriander, leaves picked and finely chopped
- 1 small red chilli, finely chopped
- ½ lemon, juiced
Method
1. Start by making the marinade. Blend the mango, garlic, paprika, lime juice and apple cider vinegar in a food processor until smooth.
2. Transfer to a small saucepan over medium heat and cook for about 10 minutes. Add the honey, oil, chilli flakes and lime zest and stir for another minute until it all comes together. Season to taste, then remove from the heat and allow to cool.
3. Pat dry the chicken wings using kitchen paper, then transfer to a container that will fit in the fridge. Reserve a small bowlful of the marinade and add the remainder to the wings, coating them well, then cover and chill for at least 2 hours, or ideally overnight. Set aside the reserved marinade to baste the chicken while cooking.



4. Light the braai 30 minutes before you want to cook. When you’re ready to cook and the coals are hot, lightly brush the grid with oil. If you can adjust the height of your grid, raise it to a medium height; otherwise move your coals to one side and place the chicken away from the coals so it cooks slowly.
5. Place the wings on the grid and cook for at least 30 minutes, turning occasionally. Baste with the reserved marinade and cook for a further 5 minutes, then check whether they’re cooked by cutting to the bone. If the juices run clear, they’re done; if it is still a bit pink, cook for a little longer. Transfer to a serving plate.
6. While the chicken is cooking, make the mango salsa. Combine all the ingredients in a bowl and season with a pinch each of salt and pepper, to taste.
7. Drizzle some of the reserved marinade over the chicken and serve with the mango salsa.
SOURCE: WOOLWORTHS TASTE
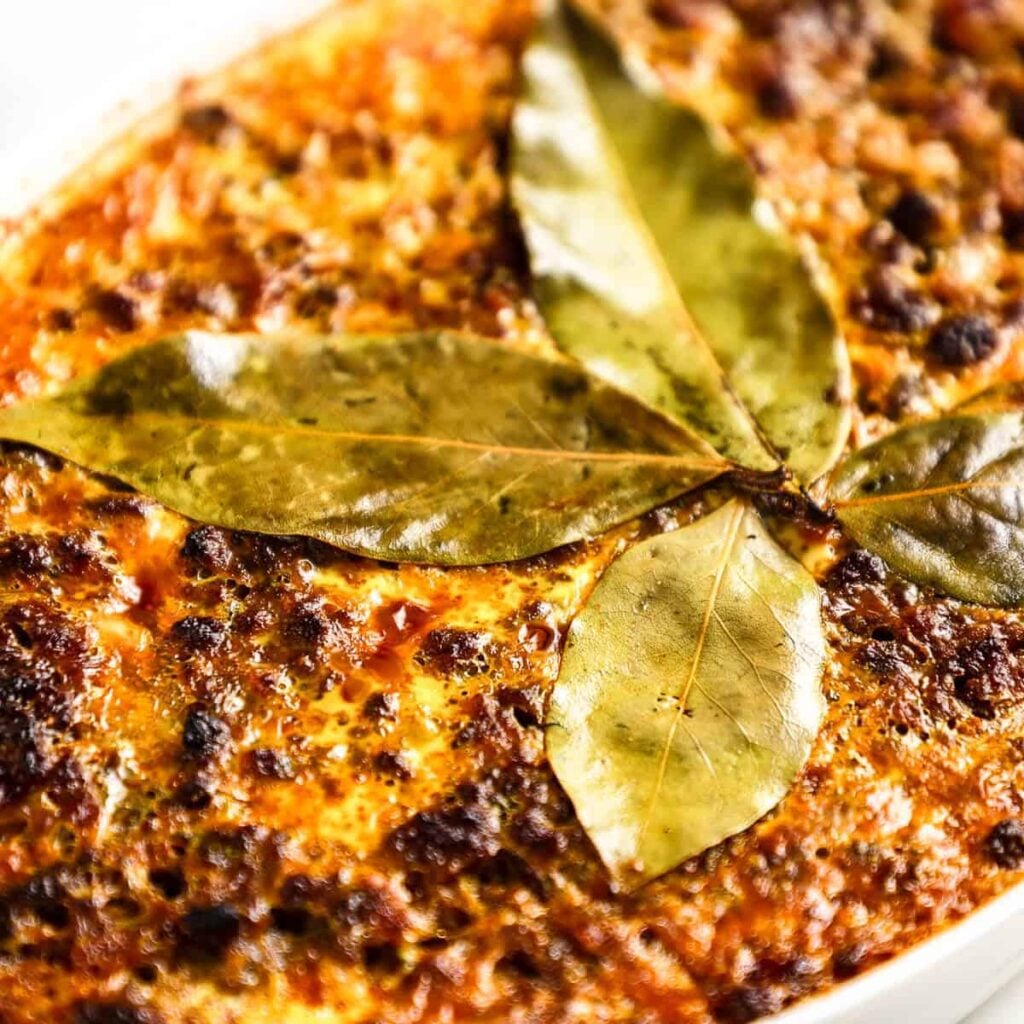
Traditional Cape Malay Bobotie
Ingredients
Bobotie mix
- 1 kilogram (2 ⅕ lb) beef mince
- 500 grams (3 cups) onion – finely chopped
- 30 grams (2 tablespoons) garlic ginger paste
- 50 grams (3 ½ tablespoons) butter
- 30 grams (2 tablespoons) sultanas
- 30 grams (2 tablespoons) raisins
- 150 grams (1 cup) apricot chutney
- 50 grams (3 tablespoons) Worcestershire sauce
- 50 grams (3 tablespoons) tomato paste
- 30 grams (2 ½ tablespoons) brown sugar
- 12 grams (2 tablespoons) ground ginger
- 12 grams (2 tablespoons) curry powder
- 2 grams (1 teaspoon) turmeric powder
- 8 grams (1 ⅓ teaspoon) salt
Egg custard



- 350 grams (1 ½ cups) milk – whole milk
- 100 grams (2 each) large eggs – two eggs
- 4 each (4 each) bay leaves – Optional for decoration
Yellow rice
- 200 grams (1 cup) basmati rice
- 300 grams (1 ¼ cups) water
- 4 grams (⅔ teaspoon) salt
- 25 grams (2 tablespoons) butter
- 1 gram (½ teaspoon) turmeric powder
Instructions
Cooking the spiced mince filling
- Prep your ginger and garlic paste first if using homemade, soak the raisins if using, and chop the onions finely.
- Heat a pan on high and fry your mince until well browned. Do this in batches, so the mince does not boil in its own juices.
- Once browned, drain the mince through a sieve to remove or reserve the rendered fat
- Next, you fry the onions along with the garlic and ginger paste in butter or the rendered fat from the meat. Cook it slowly and make sure not to caramelise the onions. It’s ok if it browns a bit, but adjust the balance accordingly, as caramelised onions are sweeter.
- Once the onions are soft, add the spices apart from the ginger powder along with the raisins. Mix until combined.
- Add the tomato paste and chutney, then cook for a further minute until the tomato paste has lost its rawness.
- Add the ginger powder, minced meat and cook on low heat for a few more minutes until the mix comes together.
Baking it
- Turn your oven to 180 °C or 356 °F. Place the dish into an oven tray filled with boiling water. This is optional, but will keep the edges from caramelising too much. Some like it that way, so do what you fancy. Bake for 35 minutes, then serve.
- Place the bobotie mix into a ceramic baking dish. Do not press it down too firmly, but make sure the mix is evenly spread.
- Whisk together the egg and milk, then pour it over the meat. Decorate with a few bay leaves as per tradition, if you wish. Brush the leaves with water to avoid burning.
- Place the dish into an oven tray filled with boiling water. This is optional, but will keep the edges from caramelising too much. Some like it that way, so do what you fancy. Bake for 35 minutes, then serve.
For the yellow rice
- Wash the rice well until the water runs clear.
- Add the rest of the ingredients and bring to a boil, then cover tightly with a lid.
- Turn down the stove to its minimum and set a timer for 15 minutes.
- Once the 15 minutes are done, place to the side and rest covered for another 3 minutes before serving.
SOURCE: PANTS DOWN APRON ON
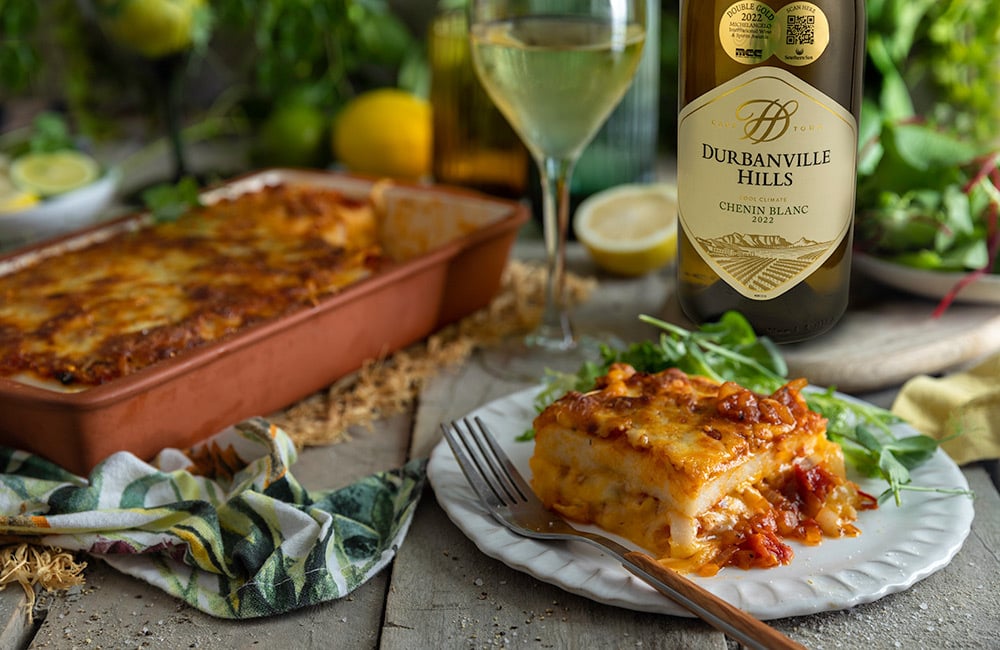
3 Cheese Pap Tart
Ingredients
300 g maize meal
6 C (1.5 litres) water
2 tsp (10 ml) salt
75 g butter
Tomato & Onion Relish
2 Tbsp (30 ml) olive oil
2 medium onions, chopped
3 large cloves garlic, crushed
1 red chilli, chopped
1 Tbsp (15 ml) mixed dried herbs
2 tsp (5 ml) smoked paprika
2 Tbsp (30 ml) red wine vinegar
1 x 400 g tin chopped tomato
½ C (125 ml) water
2 Tbsp (30 ml) chutney
50 g butter
salt and pepper
To Assemble
200 g mozzarella, grated
100 g cheddar, grated
100 g Parmesan, finely grated
Instructions
Pap
Place the pap into a large pot and add the water and salt. Gently bring to the boil, whisking constantly to prevent lumps. Reduce the heat and allow the pap to bubble gently, whisking every so often, for 40 minutes. When cooked, whisk in the butter.
Grease a 16×27 cm* rectangular casserole with butter, then pour the cooked pap into the dish. Leave the pap to cool for 15 minutes, then place it in the fridge while you prepare the sauce.
*The dish you use needs to be the correct size; if you use something bigger to set the pap, you may struggle to slice it horizontally as it will be too thin. If the dish you have is bigger, consider doubling the recipe.
Tomato & Onion Relish
Heat the oil in a saucepan over medium-high heat. Add the onions and fry until they begin to brown. Add the garlic, chilli, herbs and paprika. Stir fry for 2-3 minutes, then deglaze the pan with the vinegar. Add the chopped tomato and water and stir to combine. Turn the heat down to medium-low and simmer for 20 minutes to thicken. When reduced, add the chutney and butter and stir to combine. Remove from the heat and set aside.
To Assemble
Preheat the oven to 180 ºC.
When the pap is cold and set, place a wooden board over the dish and invert to turn it out. It will come out as a set ‘cake’. Use a sharp knife to horizontally slice it into two ‘sheets’.
Spoon a third of the tomato sauce into the base of the casserole dish, then layer in one sheet of the pap.
Top the pap with another third of tomato sauce. Add half of the mozzarella and all of the cheddar cheese. Top with the other sheet of pap, then add the remaining sauce. Top with the remaining mozzarella and the Parmesan cheese. Bake in the oven for 30 minutes until the top is bubbling and the cheese is browned. Let it cool for at least 10 minutes before slicing and serving.
SOURCE: CRUSH MAG ONLINE
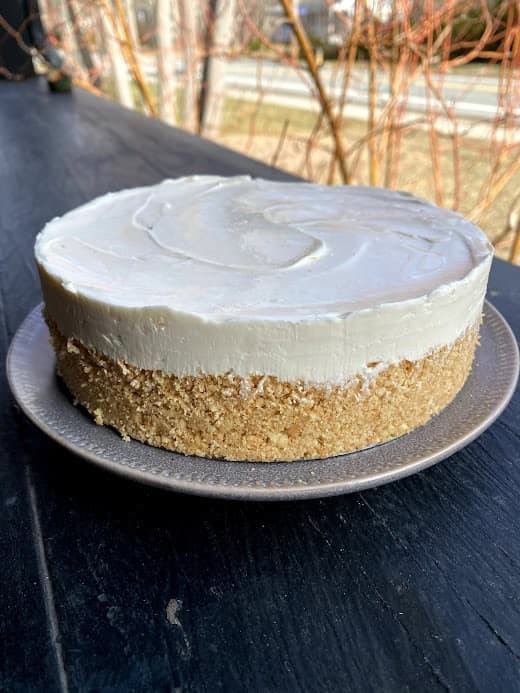
Cremora Tart
Equipment
- 1 Ziploc storage bag to crush biscuits, or use rolling pin
- 1 Large mixing bowl
- 1 round push-pan
Ingredients
- 1 pkg biscuits Tennis brand, or similar
- 4 tbsp butter, melted 55 g
Tart filling
- 2 cups non-dairy coffee creamer powdered, 250g
- ½ cup water 125mL
- 1 can condensed milk
- ½ cup lemon juice preferably fresh, 125mL
Instructions
- Add the entire package of biscuits to a zipper bag, close it, and crush it with a rolling pin. Alternatively, you can pulse them in a food processor. If you prefer not to make a crumb crust, lay whole Tennis biscuits in an even layer on the bottom of a square pan. For this option, you will not need the entire package.
- Transfer the crumbs to a bowl, pour the melted butter over the crumbs, and stir until well combined.
- Pour your crust mixture into a pan. Since I wanted a taller tart, I used a push-up pan with a small diameter.
- Use a measuring cup or glass to press the crust mixture into the bottom of your pan.
- Place the crust in the refrigerator to chill while you make the filling.
- In a large bowl, add the Cremora or another non-dairy creamer and cold water. Whisk to work out as many lumps as possible. It will look quite dry at first. Alternatively, you can use an electric mixer.
- Follow with the condensed milk, then slowly pour in the lemon juice as you stir. Continue to stir until you see the texture change. It should thicken into a batter with a smooth, creamy consistency.
- Pour the filling over the crust and smooth out the top.
- Cover and refrigerate for at least 1 hour, but overnight is best. (You want to give the filling maximum time to set up.)
- Remove from the pan. If you are using a push pan, push the bottom upward to remove the tart.
- Slice and serve.
SOURCE: EMMYMADE
